Use Windows AI APIs to Your App in 10 Minutes
Posted on May 17, 2025 • 6 minutes • 1074 words
There has been a lot of news around generative AI and LLMs. As a traditional client app developer you might have wanted to add this capability to your app, but there’s usually something that is a roadblock… you don’t want to learn something new right now, you don’t want to pay for a cloud service, or just don’t have the time to invest in that one app.
These excuses are hard to justify now you have the Windows AI APIs in the WinApp SDK; it’s all available on-device and can be done in a few lines of code.
Today, I will show you how to add really good AI capability to your app in less time than your lunch hour… no cloud APIs or fees, no REST calls, and no custom onnx model.
Microsoft Build Update: If you were an early adopter, the brnading changed after release: “Windows Copilot Runtime” is now “Windows AI Foundry”, and “Copilot Runtime APIs” is now “Windows AI APIs”.
What’s the Catch?
You might be asking, “Okay, sounds amazing, why isn’t everyone doing this? What’s the catch?” The current qualification is that your user is on a Windows Copilot+ PC. However, lets be real, you wouldn’t roll out these kinds of new features to all your users anyways.
Why not add this capability to your app, even if its only for a small subset of users in the beginning? Especially when you have these AI capabilitites available out-of-the-box:
- Phi Silica - A local, ready-to-use language model. See Get started with Phi Silica .
- AI text recognition - Recognize text in images, and convert images/pdfs into searchable text. See Get started with AI text recognition .
- AI Imaging - Scale and sharpen images using AI (Image Super Resolution), as well as identify objects within an image (Image Segmentation). See Get Started with AI imaging .
- Windows Studio Effects - Apply AI effects to your device’s device’s built-in camera and microphone. See [Windows Studio Effects Overview (Preview)(https://learn.microsoft.com/en-us/windows/ai/studio-effects/)].
So, let me show you how I did this to one of my apps.
Problem to Solve
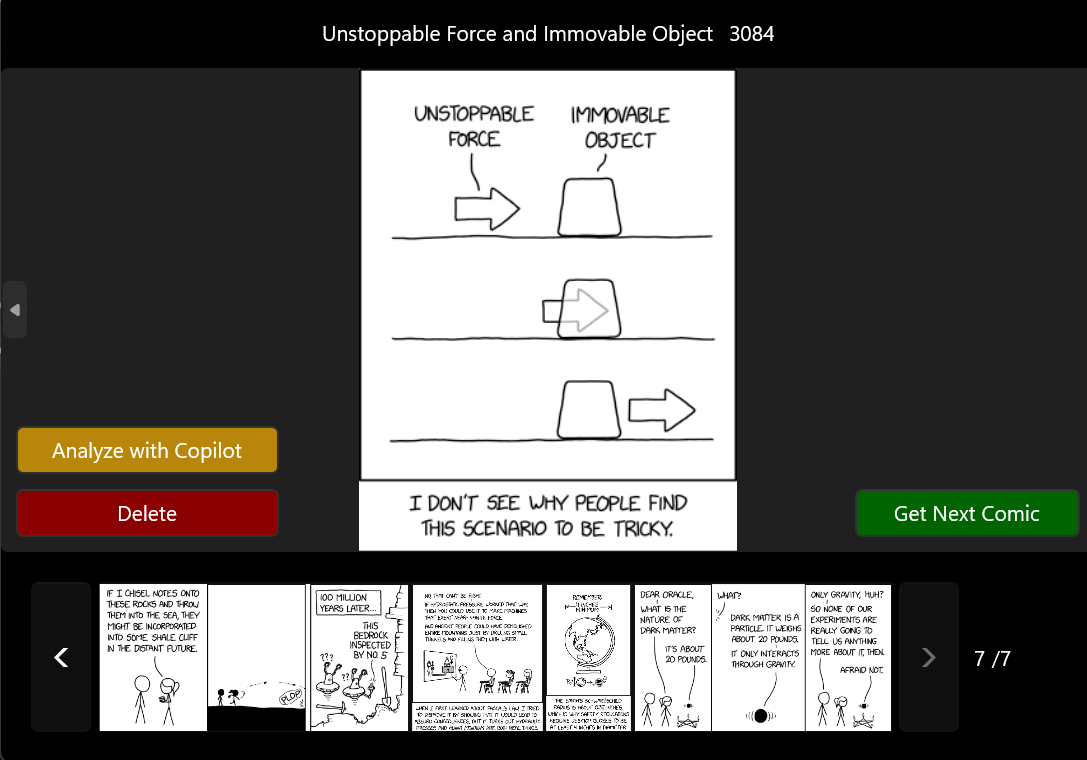
One of my apps, Xkcd Viewer , is a simple app that lets you view any xkcd comic and save/share favorites. It’s completely open source, here’s the repo => github.com/LanceMcCarthy/XkcdViewer .
However, by its nature, the app isn’t very inclusive of vision-impaired users. While yes, it’s easy to read the caption text in the comic, a ton of nuance with xkcd is in the drawing.
This is a perfect use case for the Image Description service, which understands the context of the image and then describes it in a way that can be entertaining for a vision-impaired user! It tries conveying the comedy behind the image, which is better than a plain screenreader.
Code Time
The Windows team has put a lot of work into raising the most common use cases into the Windows AI APIs , available in the WinApp SDK. I won’t take you through all the tiny details of setting up, because you can use this doc to set up your dev environment => Get started building an app with Windows Windows AI APIs .
Once you are set up, a 10-minute modification to your app can add some great value. Let me walk you through what I used in my app, you can also refer to src/XkcdViewer.Windows for the rest of the code.
First, you need to consider how you’re going to “light up” these features for users on Copilot+ PCs. This is actually the easiest part because it’s a check you can do through the SDK. I wrapped this is in a simple AppUtils.HasNpu() call that returns true or false.
To make things more organized my project, I changed my MainViewModel to be a partial class and broke it into two separate files MainViwModel.cs and MainViewModel.Copilot.cs . Then, at the top of the copilot side, I use that simple check to light up the Windows AI Foundry features:
private void InitializeCopilotCapabilities()
{
    // Light up Windows Foundry Gen AI capabilities if the system supports it
    if (AppUtils.HasNpu())
    {
        CopilotCapVisibility = Visibility.Visible;
        DescriptionLevels.AddRange(Enum.GetValues<ImageDescriptionKind>());
        PreferredDescriptionLevel = DescriptionLevels.FirstOrDefault(n => n == ImageDescriptionKind.DetailedDescription);
    }
}
The reason I chose
DetailedNarrationfor the default ImageDescriptionScenario type, is because it provides the best results for conveying the comedy/sarcasm of an xkcd comic. You may findAccessibility,Caption, orOfficeChartsbetter for your use case, see Get Started with AI Imaging for more details.
Now, for the star of the show. Take a look at MainViewModel.AI.cs#L88
where I define a Task GetImageDescriptionAsync. It takes in a the comic number int and returns the text of the AI’s description in LanguageModelResponse result.
Just a comment about the length of the code in that Task. Most of it is unrelated app-specific stuff (e.g., downloading the image file for buffer), so let me bring you right to the important bits…
- On line 122
- I use
if (ImageDescriptionGenerator.GetReadyState() == AIFeatureReadyState.NotReady)to check if Windows AI Foundry is ready. If not, it gets it ready. - On line 157
, I call
imageDescriptionGenerator.DescribeAsync(...)which gives the image to Windows AI Foundry, after which I get back a description.
I implement a fancy progress loader to stream the exact position, but you don’t have to implement it but it’s nice interactive experience to see the streaming of the text.
Finally, because this feature is for vision-impaired, I send the text to my ReadAloudAsync task on AppUtils.cs#L140
. This is just a normal speech synthesizer through MediaPlayer.Play().
Official Demos & Resources
Here are some helpful items that will jumpstart your fun.
- Windows AI Foundry demos (Github) . A must-have.
- Microsoft AI Dev Gallery (Store) . The app will show an additional “Windows AI Foundry” menu item on Copilot+ PCs
- Microsoft AI Dev Gallery (GitHub)
Conclusion
The main takeaway is it really only took me a few lines to add the capability to my project. Everything else around it is just window dressing… extra stuff to let the user to change the narration type and see progress indicators.
Here’s a video of one of my early experiments, but there were many more generations; some were absolutely hillarious, others not so much. You will want to see what type works best for your needs.
If you have any questions or need help, don’t hesitate to reach out to me dvlup.com/about/ (or bsky - @lance.boston | x - @l_anceM )