Almost every developer I speak with agrees that getting a nicely working OAuth flow can be difficult. After much trial and error, I’ve built a UWP ContentDialog that makes this easy and has built-in refresh token support.
Using the LoginDialog
This is very simple to use, when the app launches, instantiate the dialog by passing your Live SDK ClientID and let the LoginDialog do the heavy lifting:
// Pass your app's OAuth ClientId (sometimes called an AppId)
var loginDialog = new LoginDialog("YourAppClientId");

// *** Perform login **** //
// Case 1 - If the user was previously signed in, there is a refresh_token stored and no user-entered credentials are needed.
// Case 2 - If the access token fails, or if it's the first sign-in, the user will see a popup to enter credentials.
await loginDialog.SignInAsync();

if(!string.IsNullOrEmpty(loginDialog.Authentication))
{
    // This will be the access token you can use for API calls.
    var accessToken = loginDialog.Authentication;

    // Make your API calls with the accessToken, for example:
    var user = await apiService.GetUSerProfileAsync(accessToken);
}
This works just like a MessageDialog, but instead will show a WebView for the user to sign in, or automatically sign them in silently if they were previously logged in.
Get the full source code in this GitHub Gist.
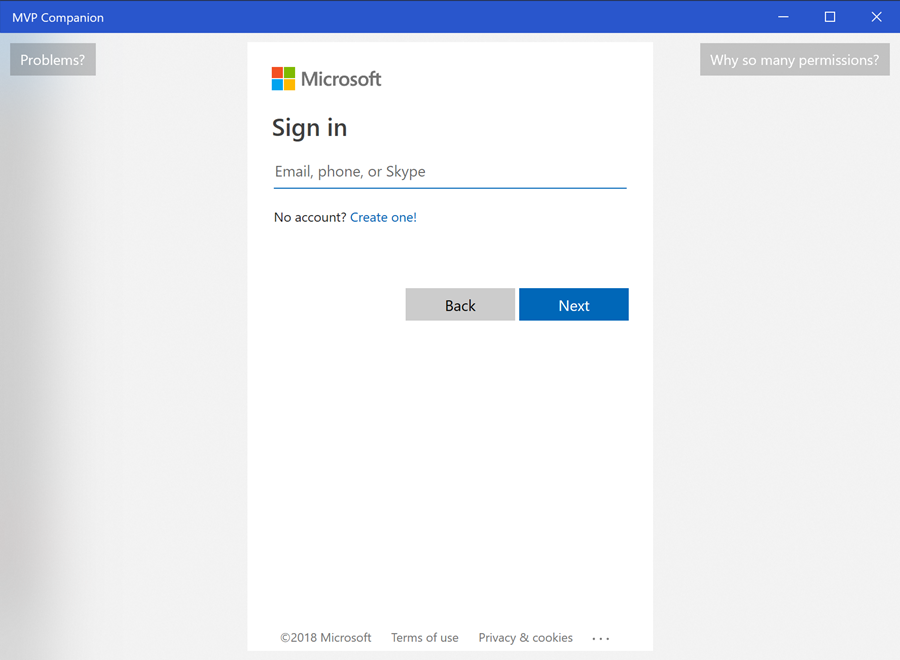
See this tweet for a video of what it looks like when it automatically logs you in and here’s a screenshot what it looks like when the dialog needs to appear:
Operational Summary
Explaining OAuth 2.0 is outside the scope of this article, but to summarize there are a couple round trip to the authentication endpoints.
- Load the sign-in landing page and the user signs in with their credentials.
- In the redirect after successful sign-in, you’ll get an access_token and a refresh_token for that authenticated user.
The access_token is what is used in all of your API calls that verifies the application is operating on the behalf of that user. The access_token expires after a preset amount of time (e.g. 60 minutes), after which time you have to request another access_token.
Here is where the refresh_token comes in handy. You could go back to step #1 above, but this would require the user re-enter their credentials. Instead, you can just use the refresh_token you already have for the user to get a new access_token without ever interrupting them to show a WebView.
This is what the LoginDialog does for you, when you call SignInAsync() the following happens:
- Checks to see if there is a refresh_token stored locally. If there isn’t one, show the WebView and have the user sign in for the first time.
- If there is a refresh_token stored locally, then use that to automatically get a new access_token without showing the dialog
Since this is general OAuth 2.0 workflow, you could probably adapt the dialog to work for other OAuth 2 endpoints by changing the dialog’s _signInUri, _signOutUri
Wrapping Up
The LoginDialog lets you have the least amount of interruption to the user while quickly getting an access token for your API use.